Quick answer: The released game’s combat rewards arriving with a loaded weapon, accessible healing and enough credits to continue. Some enemies have armor or weak points, but there is no verified universal weak-point list for every story boss. Follow the active encounter objective, watch the source video for unfamiliar phases, and leave the section promptly after the fight.
This page contains story spoilers below. If you have only just boarded the Great White, start with the beginner’s guide and return when the game puts an encounter in front of you.
The rules that apply before any major fight
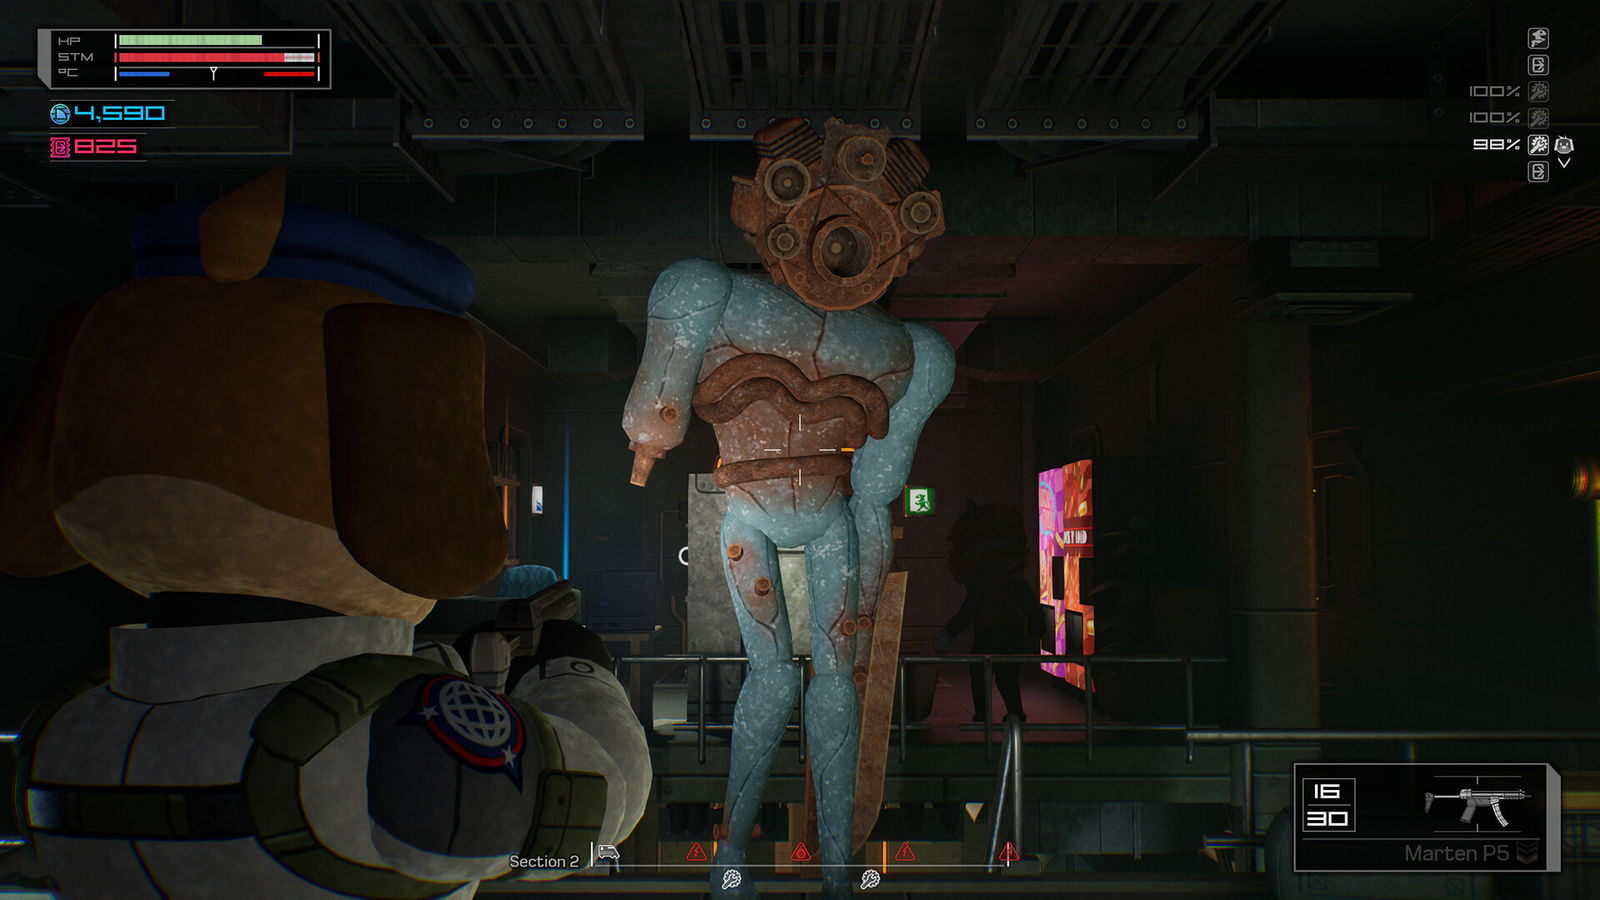
The developer’s press kit establishes a deliberately interlocking enemy ecosystem: some creatures support or hurt one another, and some have armor and vulnerable points. That’s enough to recommend observing a new enemy’s reaction to your shots. It is not evidence that every enemy takes extra headshot damage, that every boss shares a single vulnerability or that any particular gun wins a fight automatically. Official combat feature.
Before committing, run through four practical checks: load an actual magazine, make healing and heat accessible, verify that your car will not stop mid-encounter, and know which objective or exit you need after combat. In one full-release playthrough a player discovers that removing an enemy’s mask can change its behavior; that is a specific observed interaction, not a general headshot rule for every monster. Footage around 1:04.
Which encounter are you on?
| Story signal | What to check | Evidence |
|---|---|---|
| Early power station / outbreak | Finish the active power and terminal instructions | Launch walkthrough 0–11 min |
| Joseph and the Alice rescue | Follow the current rescue marker; keep moving through the reshuffled train | All boss/cutscenes 13–20 min |
| Accumulator data and Dr. Arwolf | Retrieve the records, then watch for the next story interaction | All boss/cutscenes 20–24 min |
| Reef’s server attempt | Reach the server, connect when prompted and respond to the changed mission | All boss/cutscenes 24–29 min |
| Final confrontation | Follow the replacement power plan and the fight’s current on-screen prompts | All boss/cutscenes 29–35 min |
These are verified story landmarks, not a claimed exhaustive boss roster. The source video’s title says “All Bosses,” but its auto-caption text largely consists of dialogue and music. It does not prove the exact HP values, timing windows, weapon tiers or the number of mechanically distinct bosses. The video embed is the accurate place to inspect the visual phases.
If enemies swarm before you reach the target
Separate your immediate survival from the objective. Storms produce waves, openings can expose you to both enemies and cold, and inventory retrieval is deliberately slower for poorly positioned items. Protect a defensible space, use the right magazine and monitor the car rather than chasing a single enemy deep into an unknown carriage. The official system description supports this pattern without needing invented spawn or damage values.
When a heavier creature appears, test whether it has visible protection and whether shots change its response. If another enemy is within its attacks, watch for friendly damage rather than assuming all enemies cooperate. That’s an observation strategy based on the published combat design, not a guaranteed exploit for a particular boss.
What to do when a checkpoint or fight repeats
A player on the Steam discussion board reported repeatedly losing near the next checkpoint while a worm caught them. We cannot independently confirm whether that exact behavior applies to every game version. A useful retry is to prioritize departure earlier, enter the transition with health and a loaded weapon, then compare which objective state actually persists. Avoid advice claiming you can save-scum at a specific file path; that has not been verified. Steam user report.
If the issue is lack of ammunition, use the inventory reload diagnosis before treating it as an unbeatable boss. If the car stopped or temperature collapsed, deal with the repair and cold systems first. Fright Train’s hardest moments can be caused by several systems failing at once.
What this guide does not invent
Boss HP, fixed weaknesses, guaranteed drops, attack-frame timing and an exact all-boss count have not been established from current reliable material. A list of fictional numbers would make this page worse, not better. The source recording below is linked at the fight sequence; use its timeline to identify your encounter visually. New enemy-specific subpages should only appear after an actual current-version visual review supports individual strategies.
Sources: WildArts press kit, Zhain Gaming — all bosses and cutscenes, full-release livestream.
Watch the real game
FULL RELEASESource: Zhain Gaming. The video belongs to its creator and loads only when you choose to play.